
Understanding and Editing Margins
Margins are the invisible lines on the four sides of a page creating a box for text. The empty “white space” gives the eye an empty space to land. For design purposes, they keep the layout from looking messy or cluttered. They also keep the text within the bounds home and office printers can print.
Microsoft Word, Google Docs, and most other online writing tools have automatic margins set up 1 inch away from the edge of the page. The software also allows personalization and editing for various document types. A resume and a recipe card would have different edge sizes based on their function.
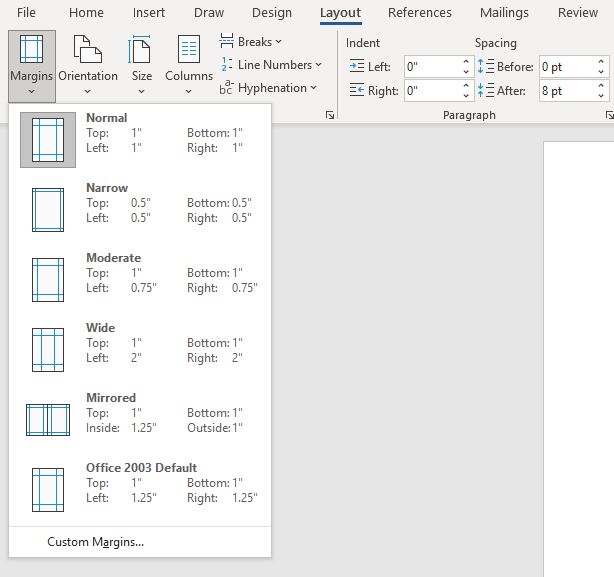
In Microsoft Word, margins can be adjusted in many ways. The simplest is the drop-down Margins menu under the layout tab. Options pop up for pre-made templates. There’s also the opportunity to type in special ones and customize the page.
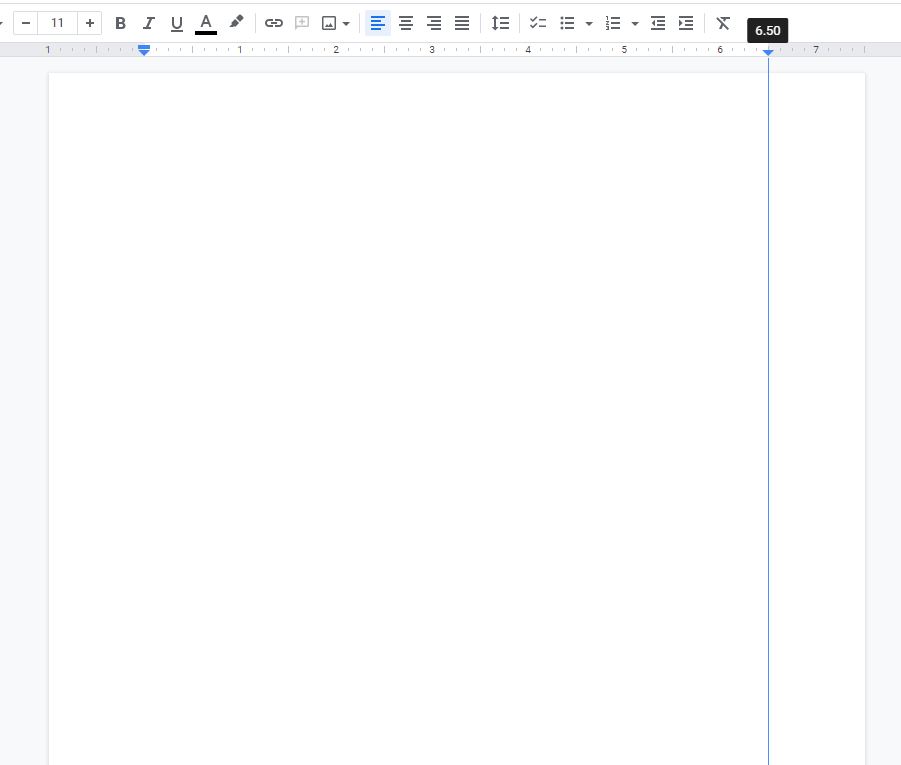
Google Docs works a bit differently. Adjust margins by sliding the triangle icon on the top or side rulers. The clear line will appear blue during editing.
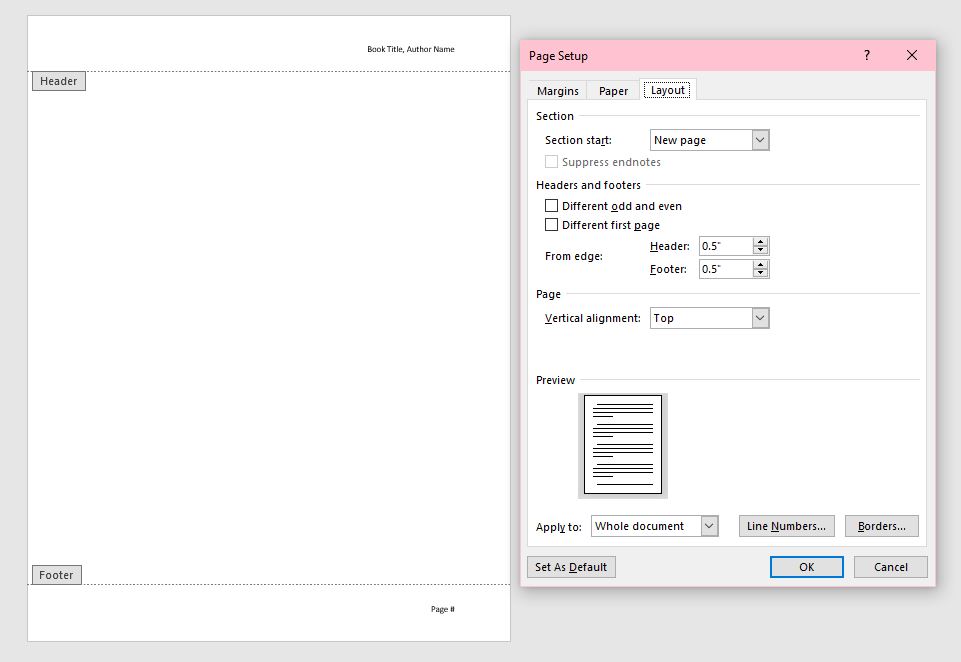
Headers and footers are the areas above and below the margins. For both Microsoft Word and Google Docs, double click in those areas to type. They appear on all pages in the document automatically but that can be adjusted as well. Novels often use these with the title and name of the author in the outer corners of the header. Page numbers fall in the footer. This keeps those elements from disrupting the flow of text. In Microsoft Word, the text appears grey in the headers/footers to remind you of the specialty formatting. Unless the color of the text is specifically changed it will still print black.
In Microsoft Word, header/footer settings can be found under the layout tab by clicking the square with an arrow to the right of the Page Setup section. Margins can be modified there as well. Once there is text in the boxes, a link will appear at the top menu that allows easy access for editing purposes.
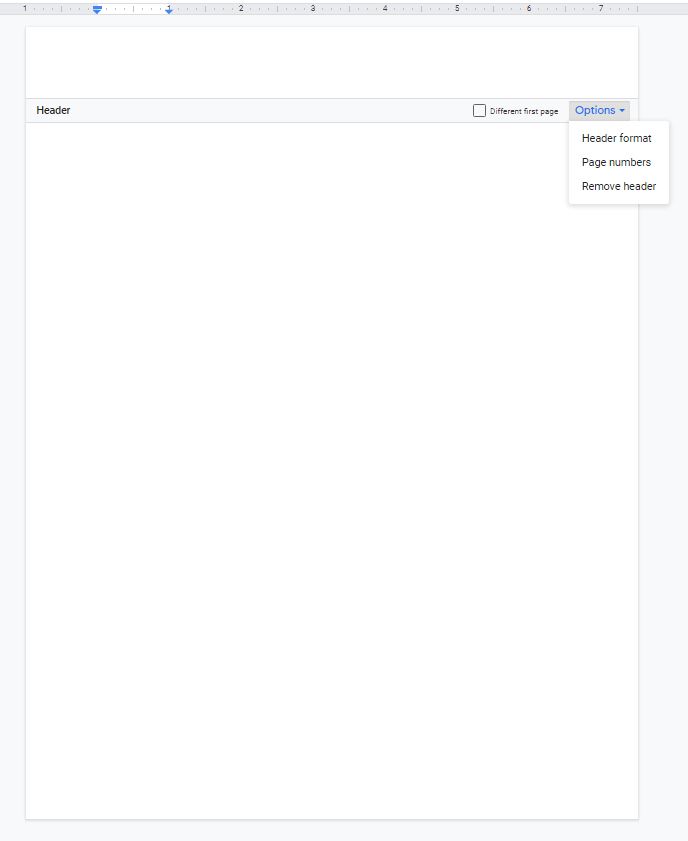
In Google Docs there is a dropdown menu.
On Adobe InDesign things look a little different. Since the software is made for more advanced typography and graphic design, margin settings are adjustable from the beginning. Presets for mobile and web applications also have margins to give white space.
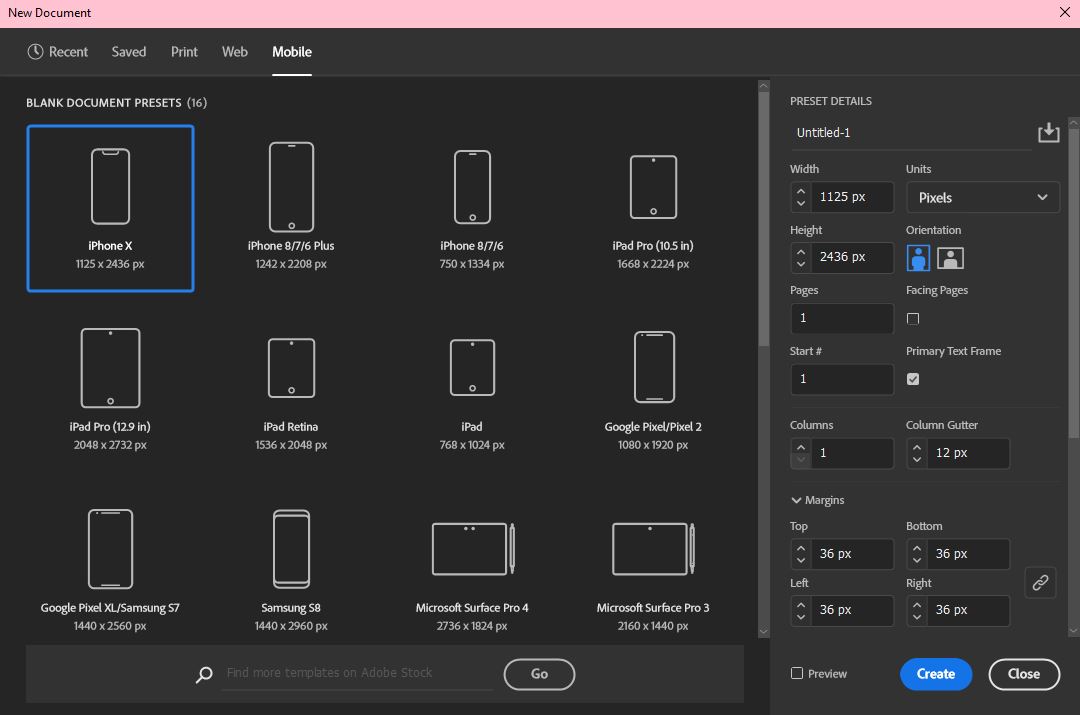
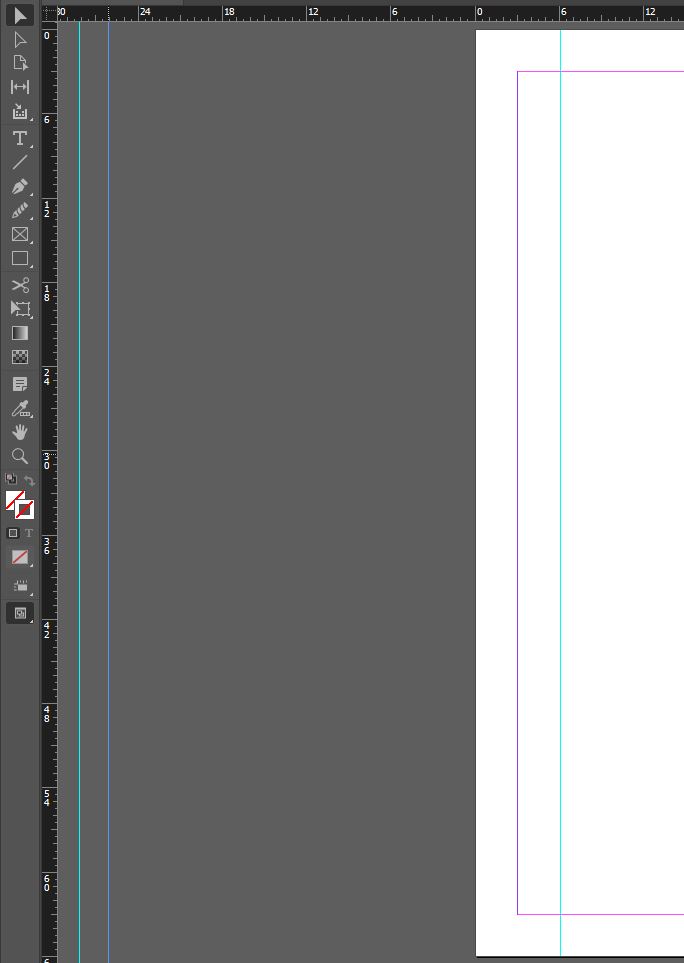
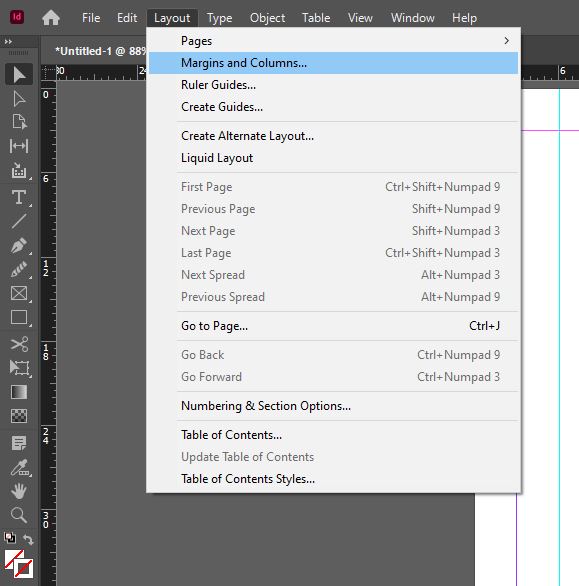
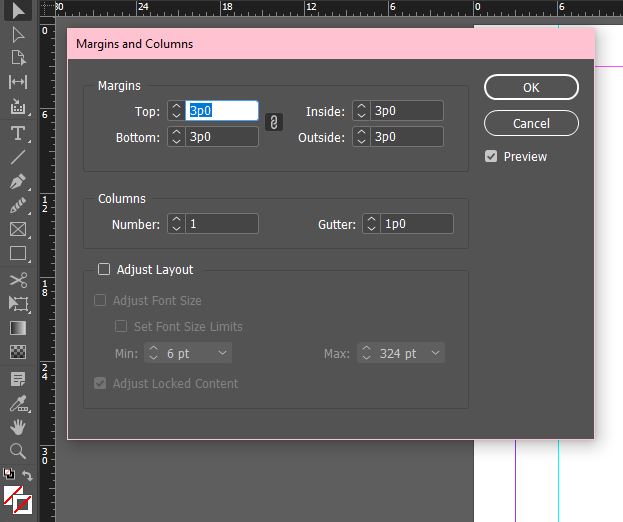
Extra margin lines can be created by dragging them out from the top or side rulers. They can be edited through the Layout tab by selecting “Margins and Columns” as well. Columns deal specifically with something called “gutters” as well – so keep a lookout for that upcoming post!
When a file is exported to a PDF, it saves these settings so they will not be adjusted or changed if emailed or uploaded to a server. It preserves the intended look of the document.
It can be easy to mix up margins and bleeds for professional printing and design. Bleeds are what extend beyond the page and margins define where things go within the page.